How to Make Ice Watercolors
By Jennifer K. Mahal

Sometimes the simplest of projects can teach a scientific principle in a fun way. Ice Watercolors, for example, are an easy way to learn about matter and its states while making art.
There are three basic states most matter can be seen in: liquid (like water), solid (like ice) and gas (like steam). There are a few other states, such as plasma (like lightning) and the lab-created Bose-Einstein Condensate (a super-cold clump created out of certain elements), but they are unusual.
A solid has a certain size and shape, like a block of wood or a plastic toy. A liquid has a size or volume, but it doesn’t have a shape. Instead it takes the shape of whatever container it is in, filling that container from the bottom. A gas has no shape or size of its own. If you put a gas in a container, it will spread out to fill the entire container equally — like air fills a balloon.
All matter can transform from one state to another through changes in temperature and/or pressure. The easiest one to observe for kids is water. In its normal state, water is a liquid. Freeze it and it becomes ice, a solid. Boil it and it becomes steam, a gas.
Which brings us to ice watercolors, a creative way to both paint and do a little science. To create ice watercolors, you will need:
* Liquid watercolors, tube watercolors or food coloring
* Water
* An ice cube tray
* Popsicle sticks, cut in half to make shorter sticks
* A freezer
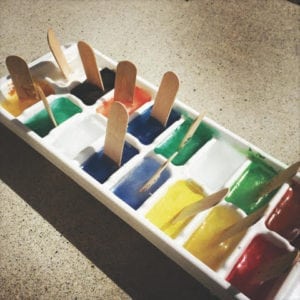
If you’re using liquid watercolors, you can either dilute them with water or put them directly into the ice cube tray, one color per cube. If you’re using tube watercolors, like we did, you can squirt a little into each cube, add water and stir with a toothpick. If you’re using food coloring, fill your cubes with water, then add a few drops of food coloring to make it as intense a color as you like.
Place the ice cube tray in the freezer for 30 to 40 minutes. Then place a popsicle stick in the middle of each cube. Put the tray back into the freezer until the cubes are frozen solid.
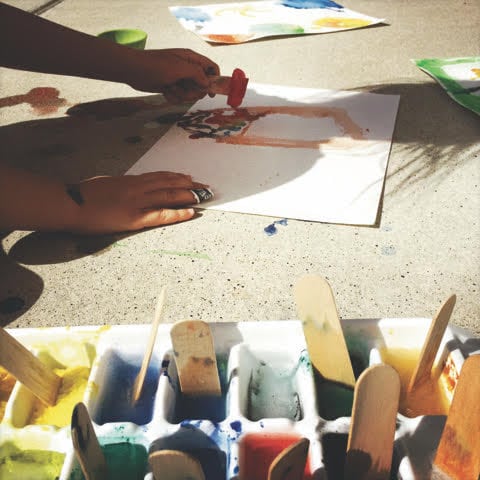
Pop out the frozen paints and use them to paint a picture. Notice how the paints act more like crayons at first, when they are most solid. As they melt and become liquid, they become more like paint. When the ice watercolors become too wet, pop them back in the tray and place them in the freezer to make them solid again, changing the state of the matter!
Discover more science and art at the Santa Cruz Children’s Museum of Discovery in the Capitola Mall. Learn more at www.sccmod.org.
Jennifer K Mahal is the Santa Cruz Children’s Museum of Discovery’s volunteer director of public relations and marketing. She lives in Santa Cruz with her husband and two children.
